Native document collaboration guide
The native document collaboration UI offers numerous ways to make collaborating on PDF files a more useful and rewarding experience for all participants. This guide provides a brief overview of the UI’s capabilities.
Overview
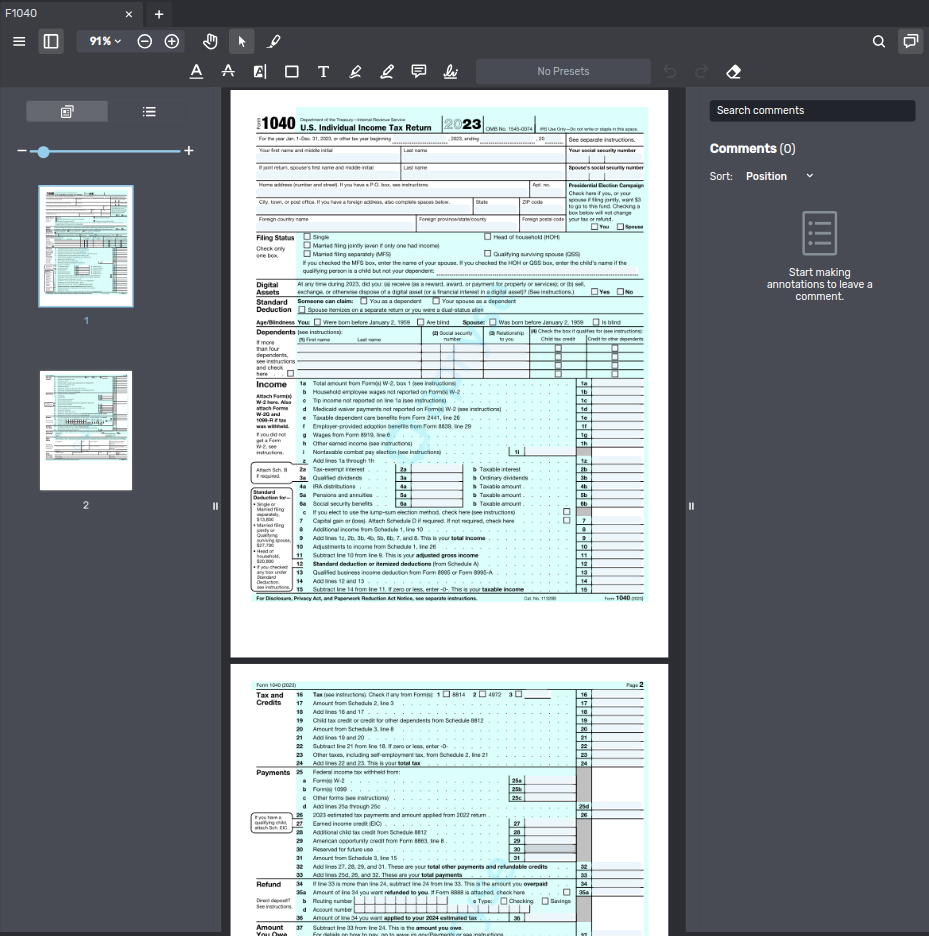
The image below shows the native document collaboration UI displaying a PDF file and both side panels:
-
Above the PDF file is the toolbar, which provides access to the tools discussed in the next section.
-
The left side panel is for navigation. You can switch between an overview of the pages in the file or an outline of the document’s structure (if available).
Use the Panel button
 to toggle the navigation panel.
Tools
The toolbar above the document in the co-browsing pane contains the majority of the tools at your disposal during a native document collaboration session. Many of the tools are familiar from other applications, for example, the Underline  and Highlight
  tools.
Some of the tools, however, have features that are more specific to native document collaboration and warrant a brief discussion.
Printing downloading, and saving the document
The Menu  gives users access to functions that print, download, and save the document they’re co-browsing. All three functions let you choose whether to include the annotations made to the file.
In the Download and Save functions, comments are included if you include annotations. The Print dialog lets you specify separately whether to print comments. If you don’t only the annotations visible in the document itself are printed.
The Download and Save functions differ with regard to where they save the document:
-
The Download function downloads a copy of the document to the user’s device.
-
The Save function uploads a new copy of the document to the conversation the document collaboration session is taking place in. It therefore makes most sense to use it with the Include annotations option checked.
Editing annotations
Once you’ve added an annotation, you can’t use the tools in the toolbar to change it. Instead, click the annotation or its comment in the comments panel. This displays a floating set of tools next to the annotation  . The tools provided this way are largely those also available in the toolbar.
Signing documents
A participant can start signing a document in two ways:
-
By clicking a signature field in the PDF (typical of forms with a designated signature area).
-
By selecting Sign document from the Menu
in the toolbar.
Both options open the Sign dialog.
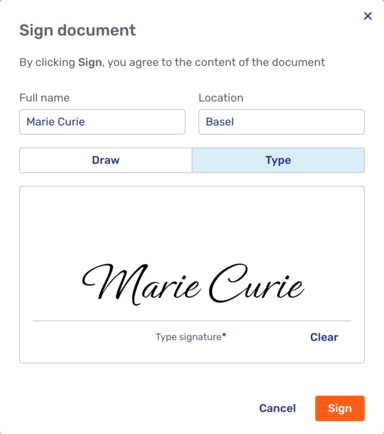
The signer can enter their full name and their signature. The signature can be drawn with a mouse, a touchpad, or a touchscreen, or typed in a script font.
Depending on how the signing dialog is configured for the conversation, they may or must enter their location and/or contact information.
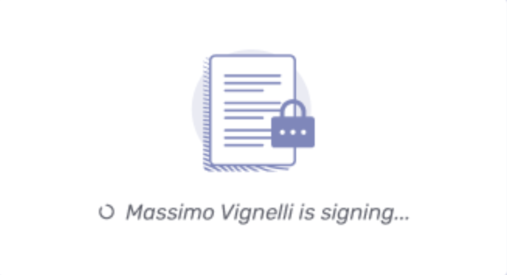
Once the signer clicks Sign, Unblu sends the signer’s information—their name, their location, and the signature they entered, for example—to the server and displays a loader. .Loader for signer while signing in progress image::../../../imgs/own-signing-loader.png[Loader for signer while signing in progress]
The other participants in the conversation see which participant is signing the document.
The server signs the document cryptographically using the private key and the information provided by the signer.
-
On success, the dialog displays a success message and closes. The signed PDF is added to the conversation as a new file message. The original (unsigned) document remains in the conversation.
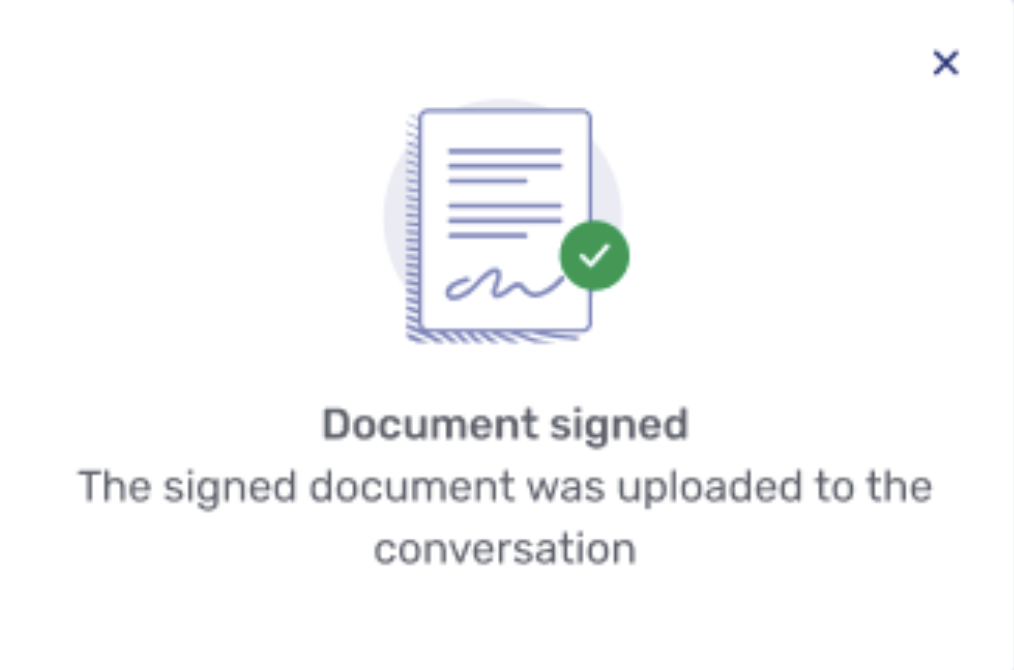 Figure 4. Dialog with success message
 -
On failure, the dialog shows a "Signature unsuccessful" error. The original document isn’t modified.
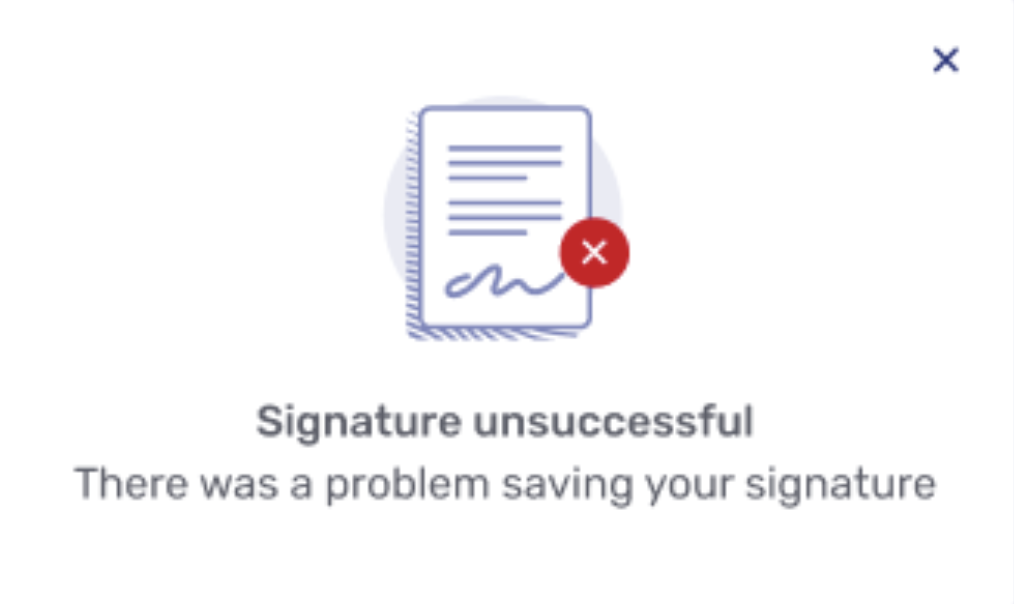 Figure 5. Dialog with "signing unsuccessful" message
The cryptographic signature of the signed PDF is represented by the signature appearance, which typically includes the signer’s information, signing date, and reason. If location and contact information were provided, they appear in the appearance text, too.
Signed documents are locked: users can view the document and its signature, but they can’t annotate or edit it. To unlock a signed document, use the Edit anyway action in the document menu.
Unlocking signed documents
Unlocking a signed document invalidates every existing signature on it. Any signers who want their signature to remain on the document must re-sign after the unlock.
A document can be signed by multiple participants. Each participant with permission to sign can add their signature independently. Existing signatures remain valid when a new signature is added, provided nobody uses Edit anyway.
See also
-
For information on configuring native document collaboration, refer to Configuring native document collaboration.
-
For information on theming the native document UI, refer to Native document collaboration viewer theming.
The right side panel is the comments panel. Each annotation made to the document is listed as a comment. Participants can reply to comments and assign comments a status, for example, "Accepted" or "Rejected".
Use the Comments button to toggle the comments panel.